How to edit the signup link in login form
By default, your MemberSpace login form allows existing members to log in and gives non-members the option to create an account to join your membership.
If you prefer not to allow open signups, you can easily that option from your login form or customize what happens when people click it.
| Removing/adding signup | Customizing the sign up experience |
Removing or Adding the Signup Option
To remove or re-enable the signup link from your login form:
- Log in to your MemberSpace account.
- In the left navigation, click Customize > General Options.
- To remove the Create Account button deselect Enable signup within your login form.
- To add it back later select Enable signup within your login form again.
-
Click Save Changes.

Disabling signup is useful if you only want to manually invite members or control access to your membership through private plans.
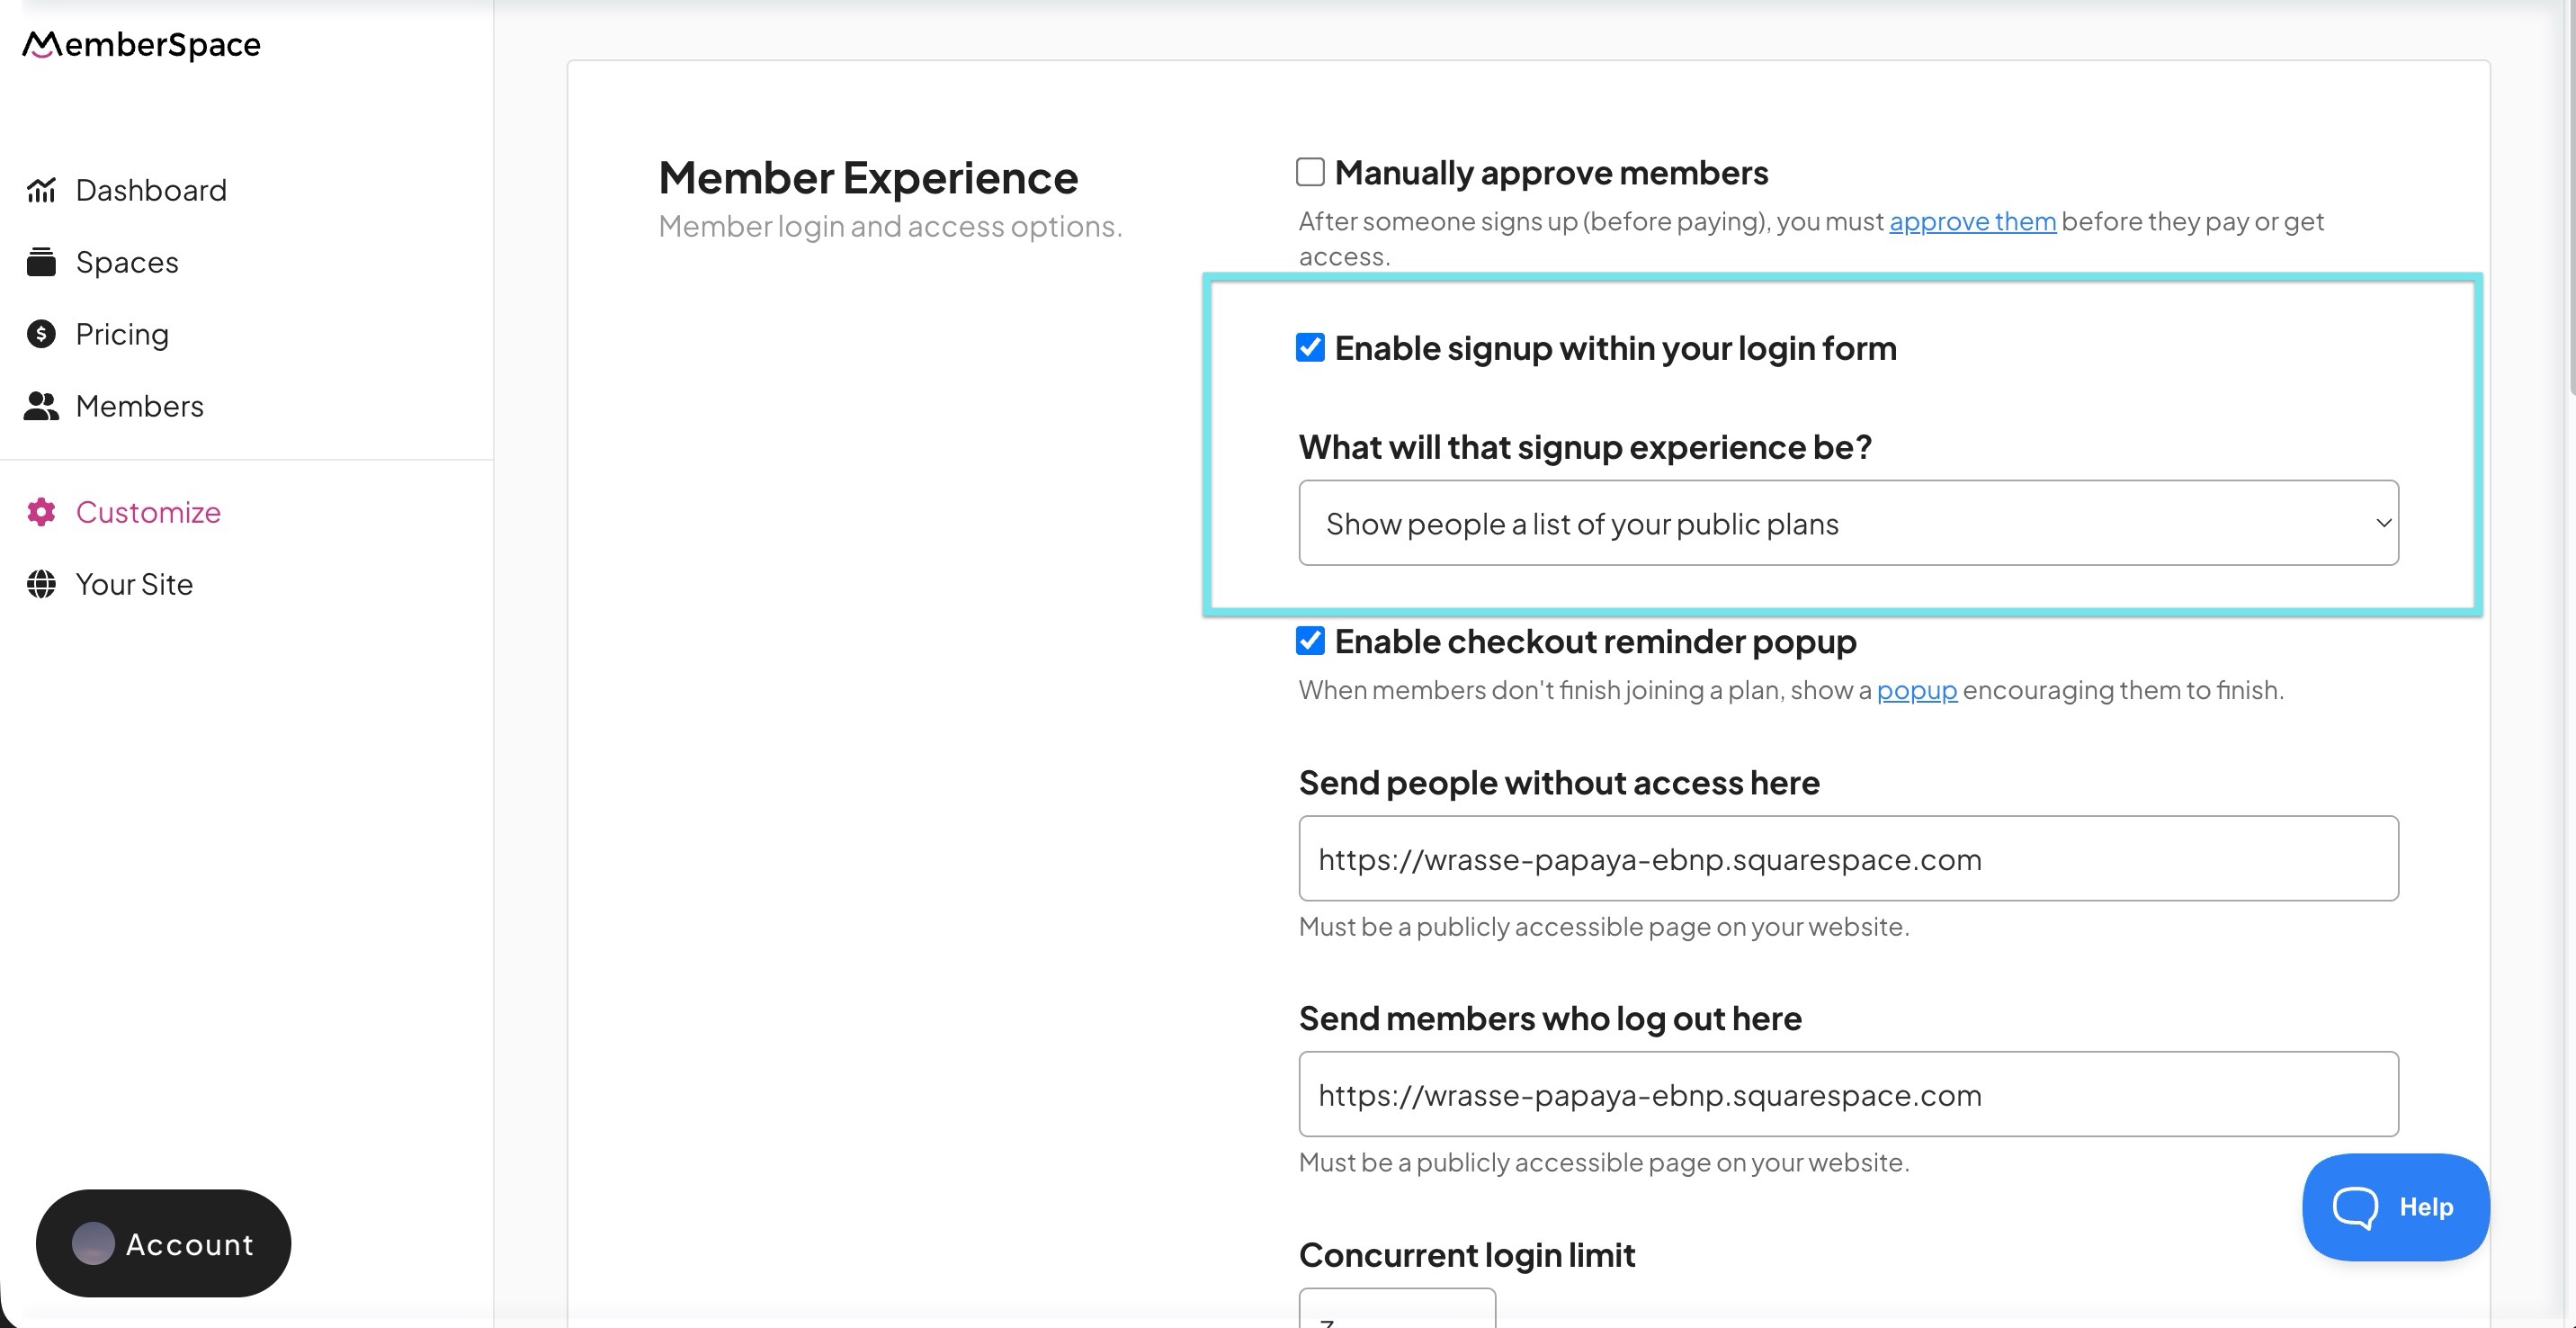
Customizing the signup experience
When signup is enabled, you can decide what happens when someone clicks Sign Up.
- Show a list of your public plans — ideal if you offer multiple membership options.
- Have them sign up for a specific plan — automatically directs users to a single plan signup.
- Send them to a custom URL — redirect users to a separate page, such as a marketing page or form.