How to manually approve members
Some organizations prefer to manually review and approve each new member before granting access to their plans and protected content. MemberSpace makes this easy to manage.
Follow the steps below to set up manual member approval.
Step 1: Enable Manual Approval
- In your MemberSpace dashboard, go to Customize > General Options.
- Check the box for Manually approve members at the top of the page.
- Click Save Changes.
Now, whenever someone signs up for one of your plans, they’ll see a message letting them know that their account is pending approval.

Step 2: Customize the Pending Approval Message
You can edit the default message (“A site admin still needs to approve...”) that appears after signup:
- Go to Customize > Custom Wording.
- Scroll down to Common Messages >>Member Status >>Pending Approval.
- Click the "+" to edit the message and then save.
This lets you personalize the experience and set the right expectations for new members.

Step 3: Review and Approve Pending Members
Whenever a new account is created, you’ll receive an email notification with a link to view the member’s details.
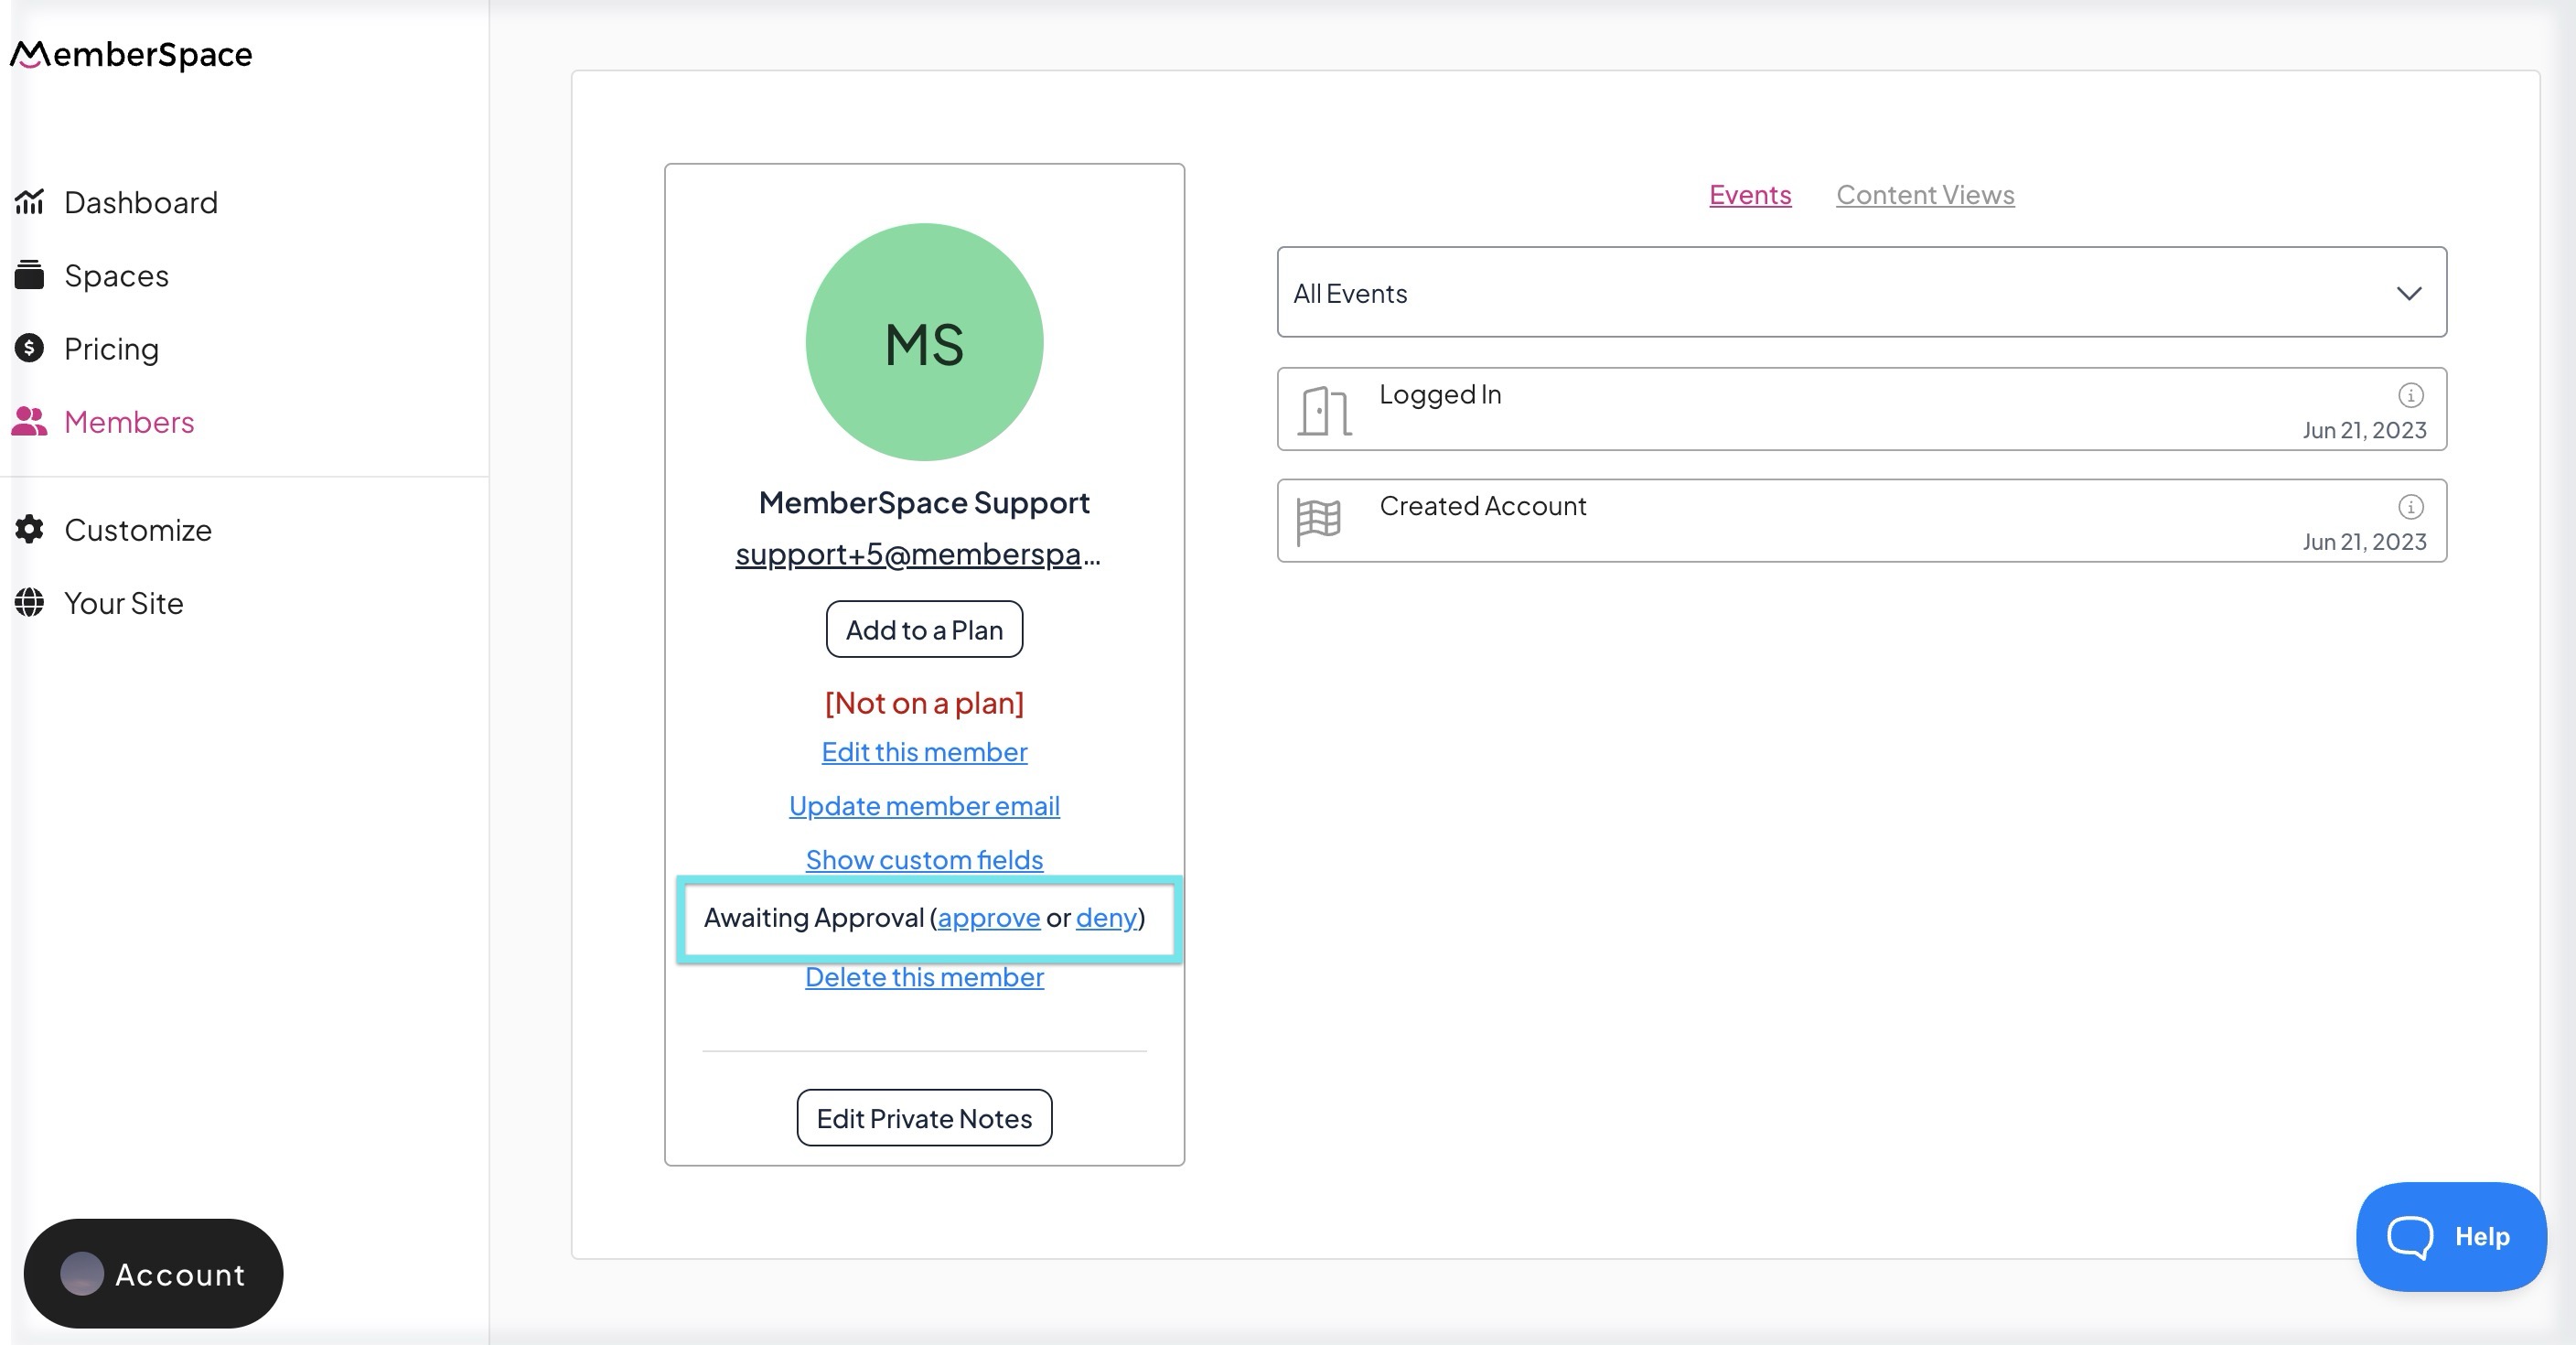
To approve or deny a member:
- Click the link in the notification email, or navigate to Members in your dashboard.
- In the Members list, filter Approval status to Awaiting Approval.
- From here, you can Approve or Deny members directly from the list
-
Click View Member Details to review more information before making a decision.

Step 4: Customize Notification Emails
When you approve or deny a member, MemberSpace automatically sends them an email. You can customize or disable these messages:
- Approval Email: Go to Customize > Notification Emails > Member Approval. You can edit the wording of this email, which includes a login link for the approved member.
- Denial Email: Go to Customize > Notification Emails > Member Denial. You can edit or disable this email as desired.
Managing Members After Approval
Once approved:
- Members can log in, cancel, join, or rejoin any plan without requiring additional approval.
- If you later decide to revoke access, you can change their status to Denied.
Denying a member will immediately remove their access to protected content (e.g., pages or links), but it will not cancel any active payments.
To stop recurring or multiple payments, you’ll need to manually cancel their plan in the billing section.