Pricing your membership and content
Plans in MemberSpace are how you control who gets access to content on your website.
A plan defines:
- What content a member can see
- How long access lasts
In other words, plans act as your membership tiers, they decide what content a member unlocks after joining.
Learn how to setup pricing for your plans using the walkthrough demo. Written instructions are also available below.
| Creating plans | Plan links |
| Organize plan display | Private plans |
| Advanced options |
How to create a plan
- In your MemberSpace dashboard, go to Pricing > Create Plan
- Next, choose which type of plan you'd like to create.
- Then, configure the various settings for the plan. You'll choose the name and determine the payment amount, currency, payment interval (if it's a recurring plan), and what Spaces can be accessed.
- (Optional) Select Show advanced options to configure a specific billing date, free trial period, signup fee, taxes, plan description, and redirect URLs.
- Click Create this plan at the bottom.
Plan types
- Recurring Payment (eg. $99 per mo)
- One Time Payment (eg. 1 payment of $99)
- Multiple Payment (eg. 3 payments of $49)
- Free (no payment required)
Advanced options
- Setup a specific billing date
- Free trial period (days)
- Signup fees
- Tax/fee
- Plan description
- After sign up & login redirect URLs
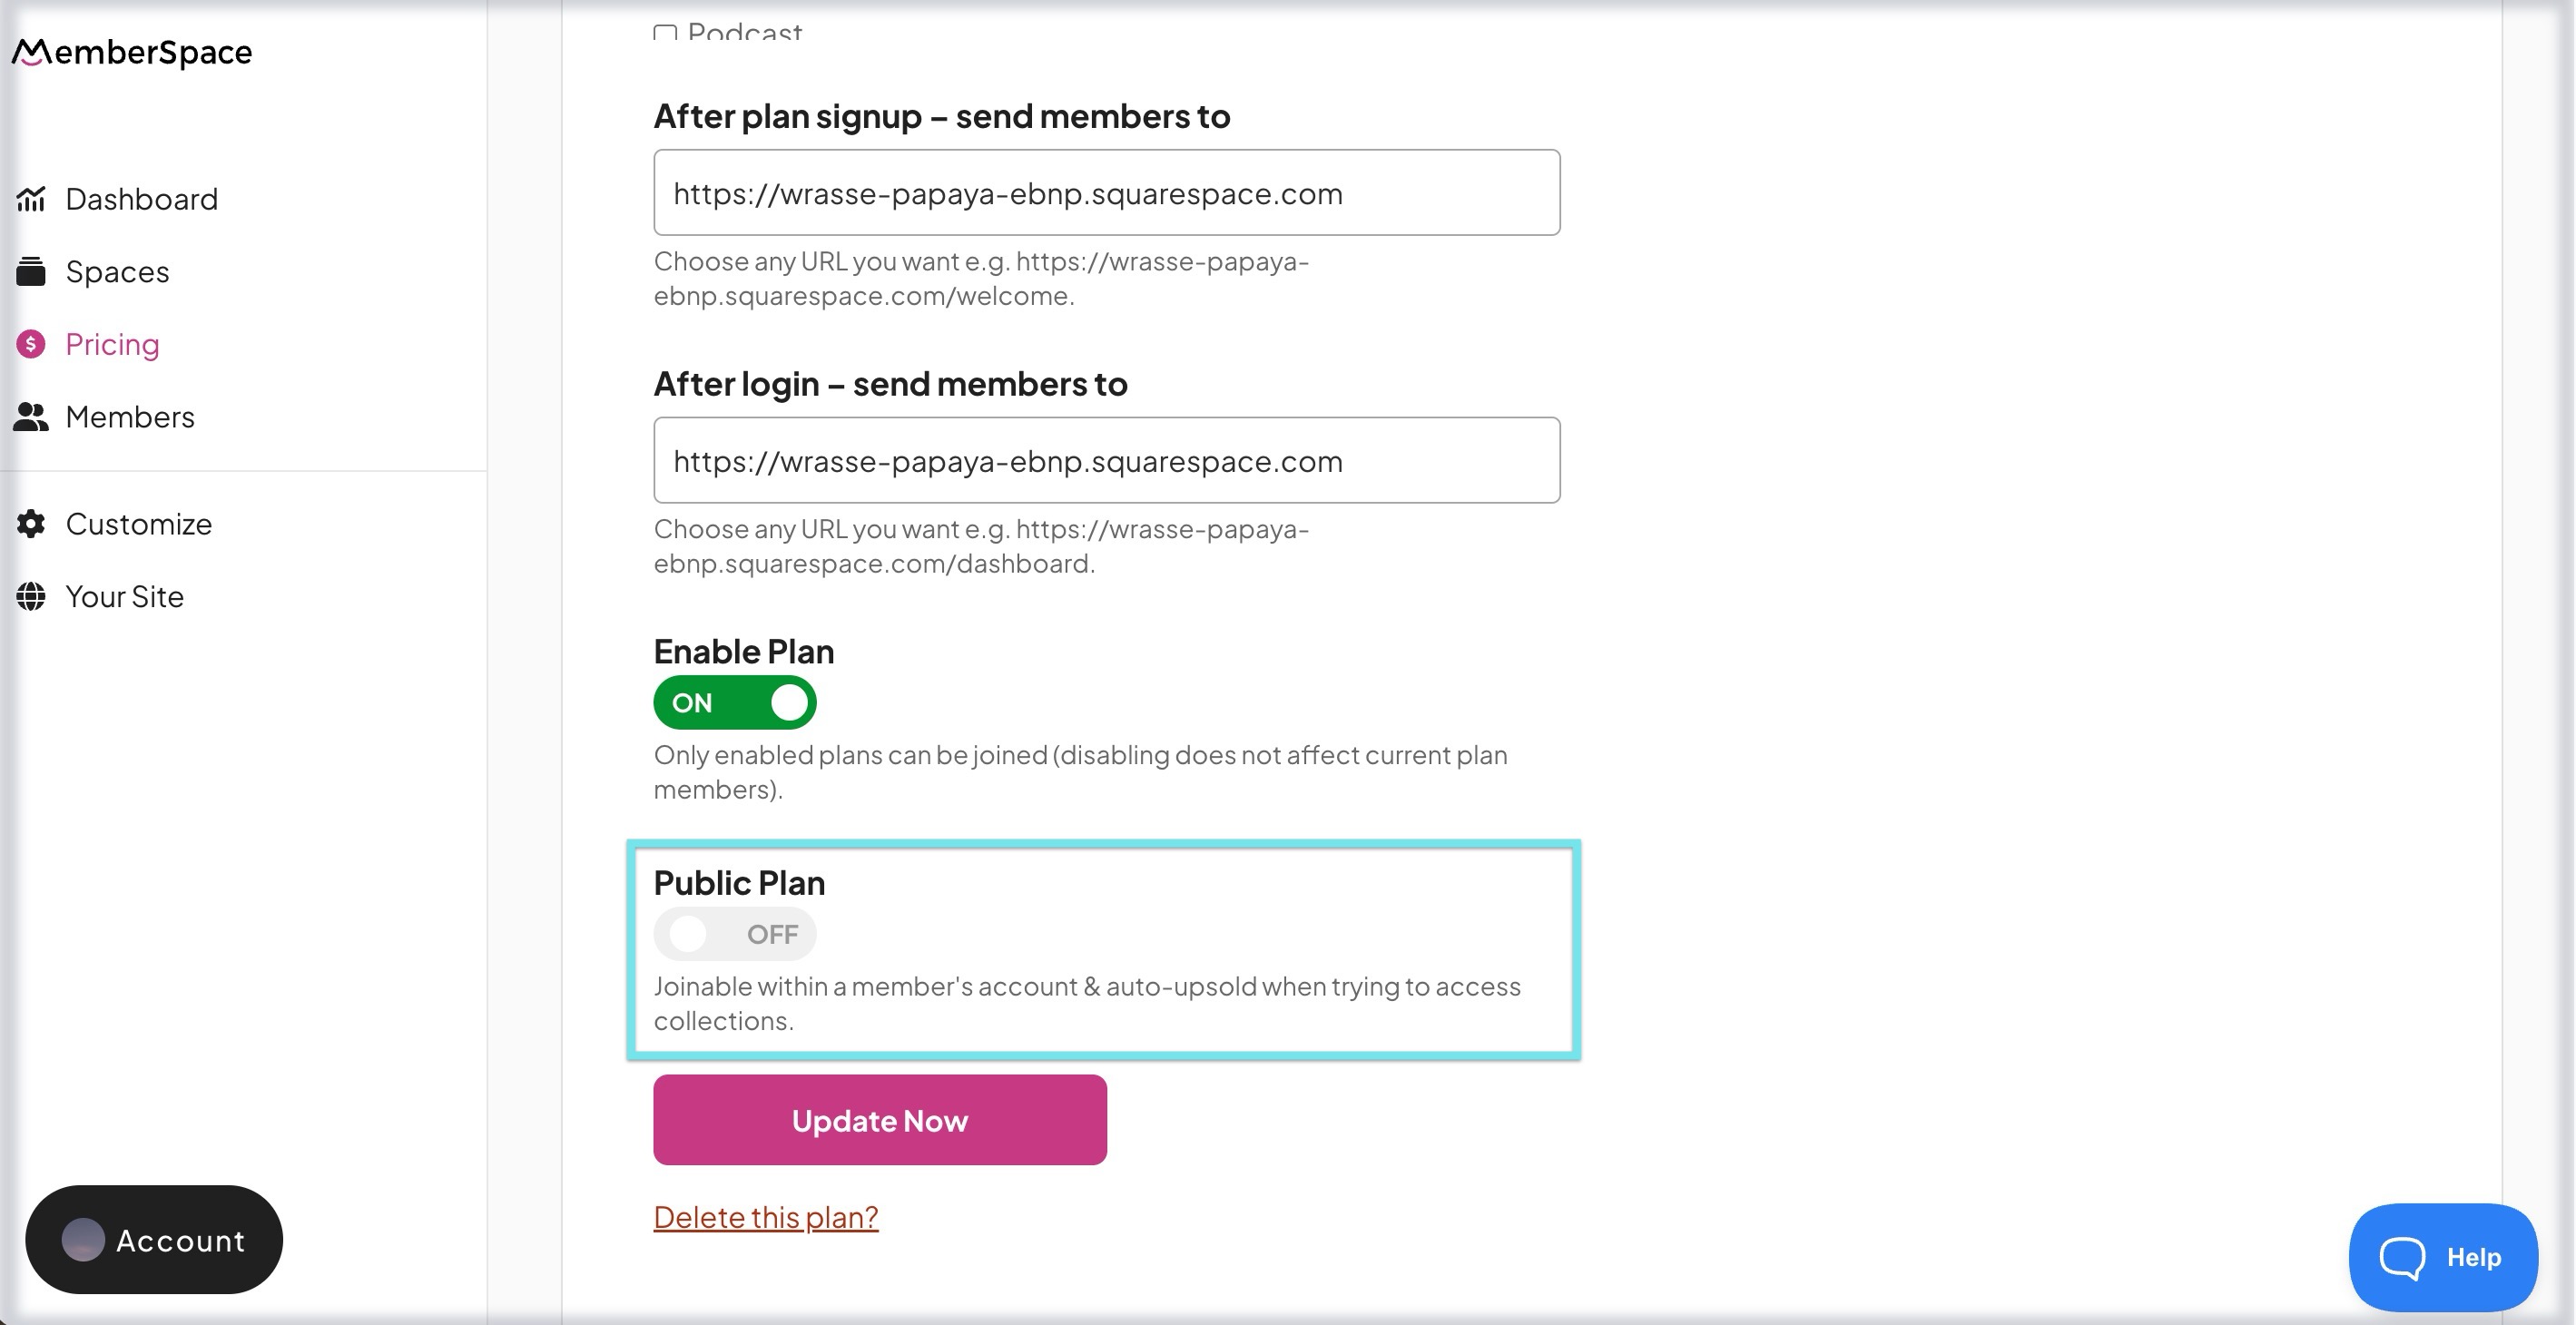
Making a plan private
- While editing a plan scroll down to Public Plan
- Toggle the switch to the OFF position.
-
Click the Update Now button at the bottom, and you're done. Now, members will only be able to join that plan via a manual invite or the plan's signup link.

Changing the order of your plans
Once you create various plans, you can adjust the order in which they appear by clicking and dragging them up or down the list.

Plan signup links
Each plan will have a unique signup link you can add to your website so people can join that specific plan. Otherwise, you can add the All-Plans Link to your website if you'd like your members to have the option of which plan to join.
When a non-member or logged-out member clicks a plan link on your website, they will see a popup form to create an account.

You can customize various aspects of this form including the wording and look & feel. Additionally, you can add custom signup fields to the create account form or create ones that show after signup.
Once a member creates their account, they will enter their payment details (if joining a paid plan) and click to officially join the plan.